I’m now just shy of ten weeks into my new routine and there are a lot of projects vying for my time and attention. This situation has made it difficult to make serious progress on my 6AS7 SET project.
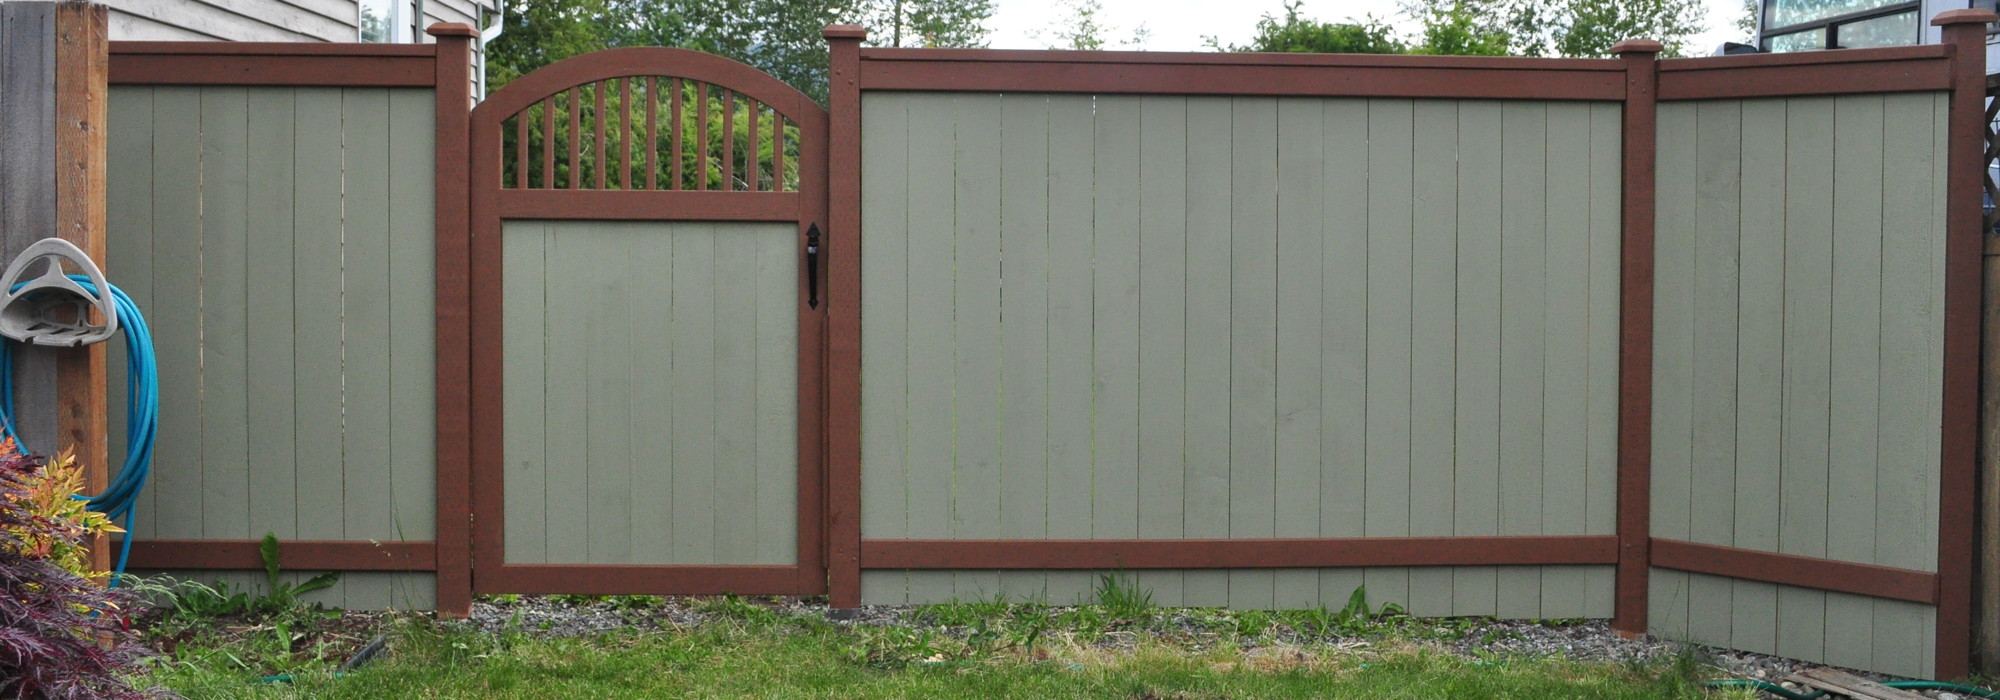
For example, I had an old fence next to my house that needed to be relocated and updated. So I spent a good portion of the month of May building it and removing the old structure. This included sinking new posts in concrete, building a new gate, engineering an approach for a removable section and post (so I could get a vehicle through it if required), completing the fence, and removing the old one.

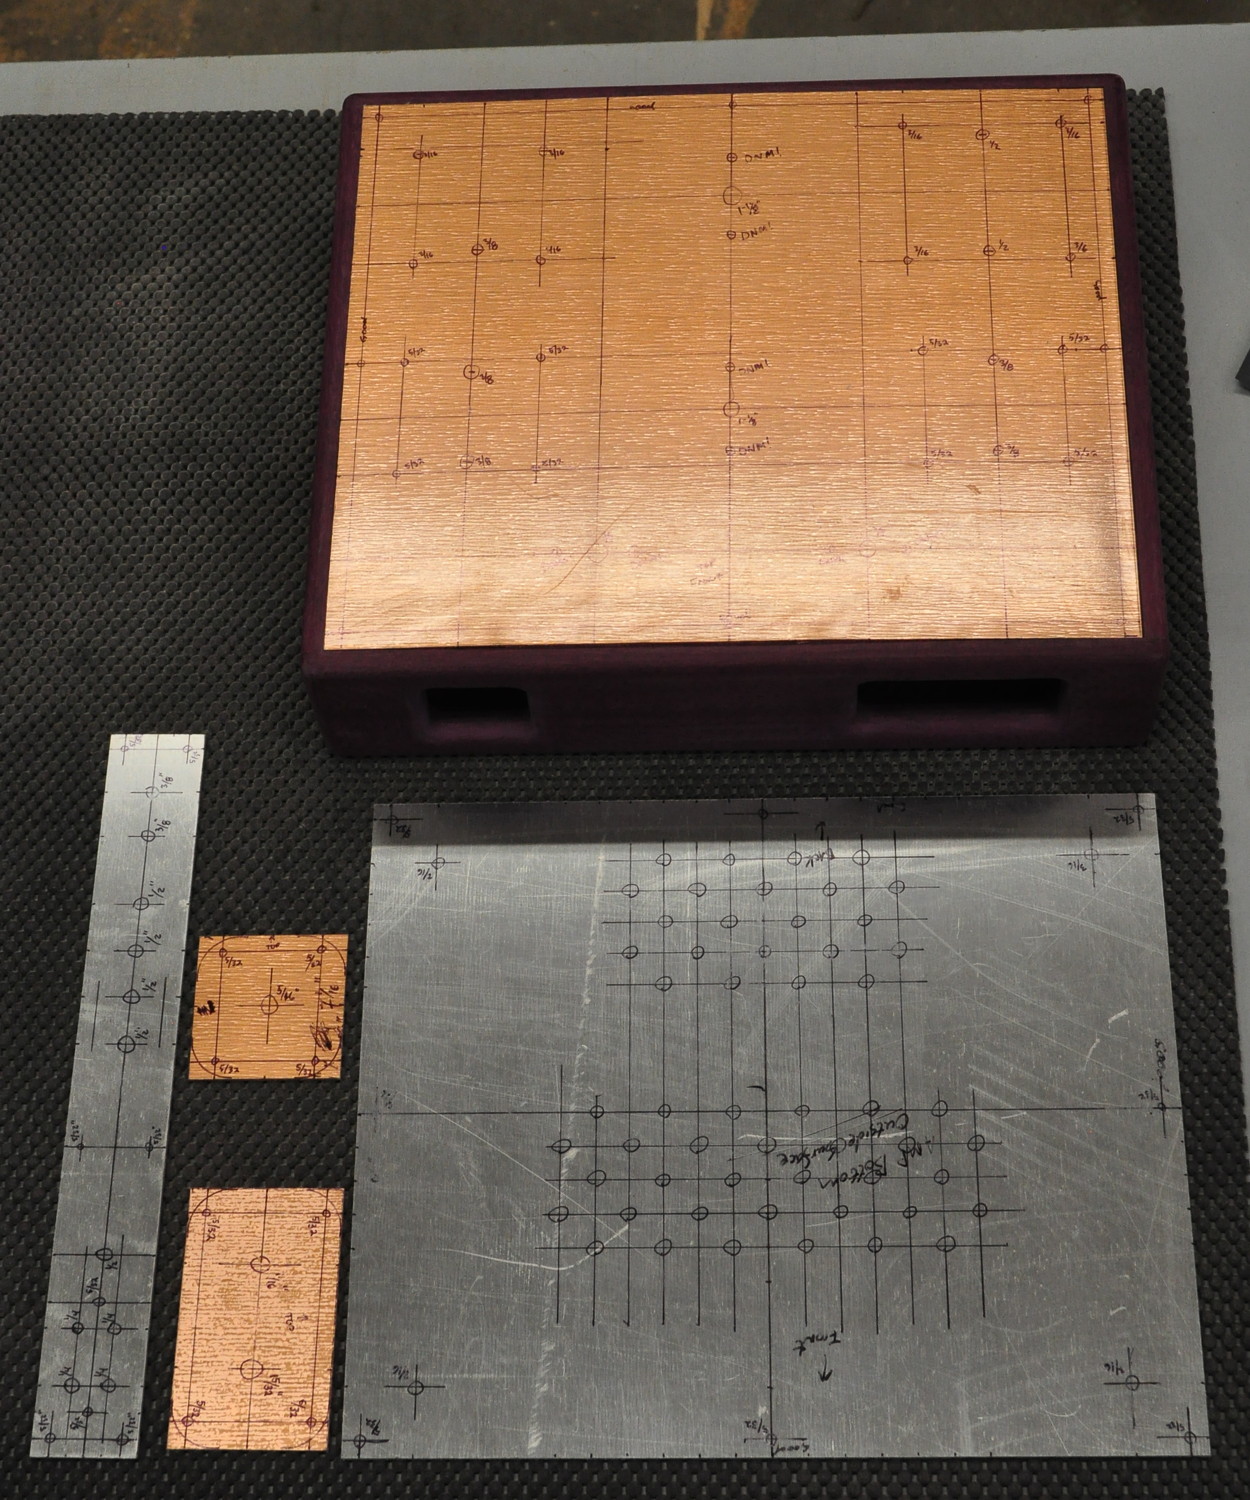
So now that that’s done, I’ve been making some progress on the SET amp. With the sanding coming along nicely (but still not complete), I decided to take some time to cut and fit all the metal for the amp. Here is the progress I’ve made in the last couple of days.

The aluminum pieces are for the bottom and the back plate. Of the small copper plates, one is for the power switch and indicator lamp, and the other is for the volume control. I have checked the layouts against actual components and everything looks good. I haven’t done any of the drilling yet but that shouldn’t take too long once I get going.
And there’s one more thing… I’ve decided to change course on the copper. The situation is thus; I’ve been looking at the 6DJ8 Headphone Amp as the purple heart matures and I’ve decided I want a slightly different look. It’s been over four years since I completed that amplifier and the tone of the wood has changed substantially. Purple Heart (Peltogyne spp.) starts out with very strong purple overtones when first cut. Then over time, the wood slowly darkens and the tone slowly changes from that saturated purple color to a more red/brown hue, very similar to aged mahogany. When I designed the other amp, it was my first opportunity to work with copper as a design element and I decided to go with a polished finish. Some may say I took the safe route (or “chickened out”) but this worked great with the saturated purple color. However, as the wood has aged and mellowed, the polished copper has gone from a nice accent to being almost a competing design element to the wood’s tone.
I’ve decided that instead of the bright polished finish for the copper I used on the 6DJ8 Headphone Amp, I want a patina finish on the copper for this amp. And by “patina” I don’t mean a green corroded look or an abused surface with scratches and smudges, I actually mean that nice reddish-brown color of a well worn copper penny. I think, whereas this kind of finish should work out fairly well with the initial wood color, it should be a fantastic accent when the wood has matured in a few years. And in ten years time, the amp should look like it’s been around even longer than I have. At least that’s my goal.
So, once I’ve drilled all the holes in the metal there will be another delay as I experiment with various methods of fast oxidizing copper. I’ve been trying some of the more common methods on some small scraps but I think the there will still be a steep learning curve before I get to the finish I really want.
This is where things stand today. I also had another idea this morning which may lead to a little more prototyping work to check out a theory I have (another potential delay). But if the experiment turns out well, I may move bias points around a little on the 6AS7.
Let me know what you think so far.

Are you thinking about lowering the value of the cathode resistor?
Actually, I’m investigating higher bias point Vp voltages. In a SET, the optimum output power increases as the square of the plate voltage. And distortion improves at low drive as you increase plate current. I am looking at the shift in bias point while limiting the plate dissipation to <13W. This would actually force me to raise the cathode resistance if all works out as I think it should.
Thanks for the explanation. I hope things go well with the prototyping and am looking forward to seeing what you do.