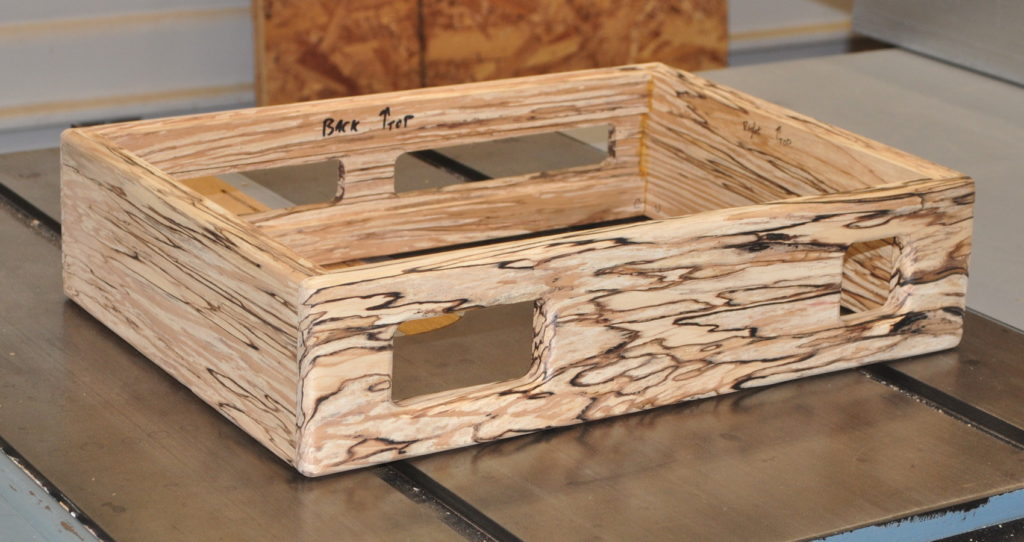
Today I finished putting the final shaping details on the 6L6 SE-UL spalted alder chassis. All it needs now is a final sanding and the oil finish.
The chassis boards went together surprisingly well. Spalted wood is not always the easiest with which to work, but I didn’t run into any major problems with the assembly.
After working with the incredibly dense and heavy purpleheart for the 6AS7 SET, this chassis is surprisingly light.
I will cut all the metal now before moving forward with the chassis. I generally like to make sure all the metal fits and the mounting holes are all in the right place before pre-drilling the chassis. And pre-drilling for all the metal comes before final finishing. I probably will do some of the final sanding before all the metal’s complete though. From working with the wood, I think this chassis will require at least four and maybe as many as eight coats of oil. The wood is rather soft in places and will require the added hardening that the oil will provide.
Overall, this project is coming along nicely.
As always, questions and comments are more than welcome.


Looks really good Matt. What are you planning for the top and side plates? Maybe should do a leather covered…
Top and side plates are going to be semigloss black. I wanted something with good contrast and something that would not detract from the interest in the wood. On this chassis, the wood is definitely the star. However, I have another project in the wings for which I haven’t yet chosen wood. Maybe that one could get some more non-traditional amp finishes. However, John55 has a real handle on the Leather Amplifier look.
I love unusual wood cabinets. My favorite so far has been the Zebrawood. I’m sure when this is finished I’ll change my mind. Any chance of putting up some photos of your woodworking area and tools? I make all my cabinets from MDF and then cover with leather. I wouldn’t mind getting into some real woodwork, but have limited space.
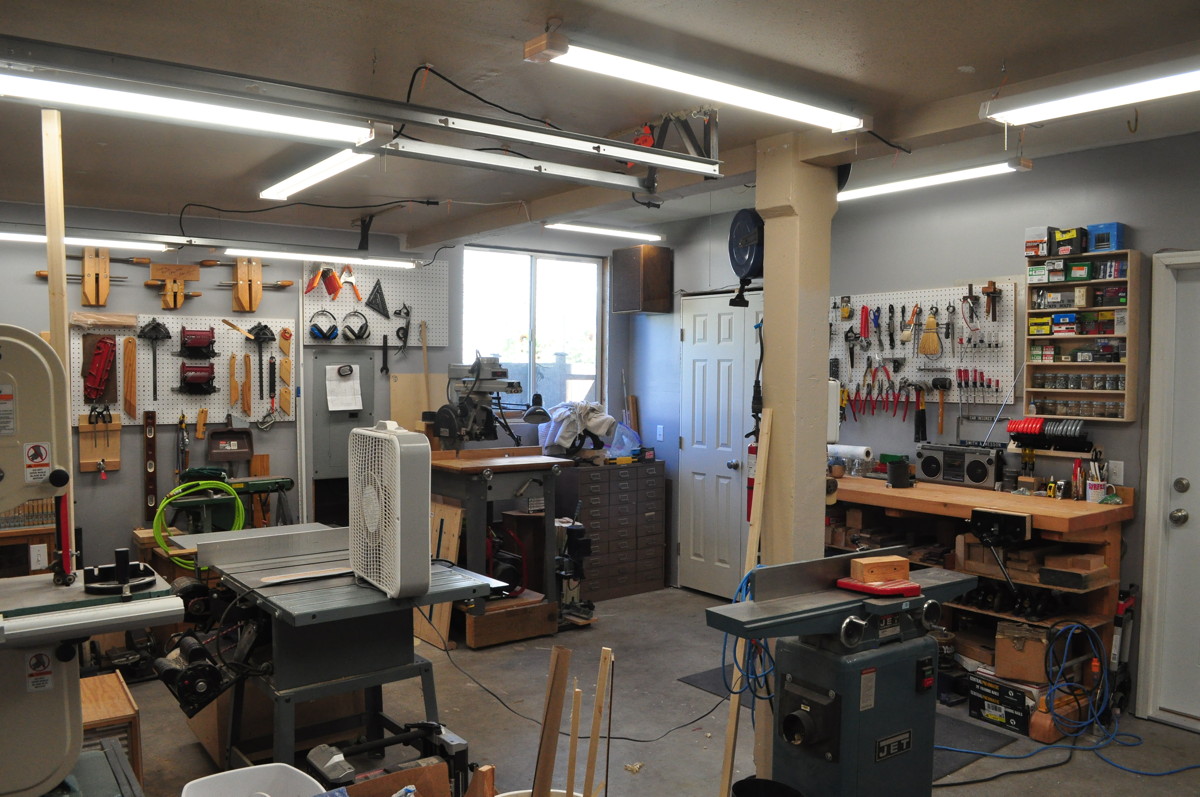
My current shop is the biggest I’ve ever had. It’s 21′ by 15′ (≈6.5m by ≈4.7m). But it’s got a lot of equipment in the space, two workbenches, and my lumber rack. Plus all the other stuff that seems to accumulate in a general purpose workshop. Here is a picture from when I was just getting everything set up. It’s probably the neatest that this shop has ever been.

In this picture you can see most of the tools and the main workbench. The post in the center is halfway across the width of the shop and about 6′ (≈2m) from the back wall. It’s a little cramped but I still manage to get things done in there.
Having taller sides makes the space above and below the metal plates look better – good choice.