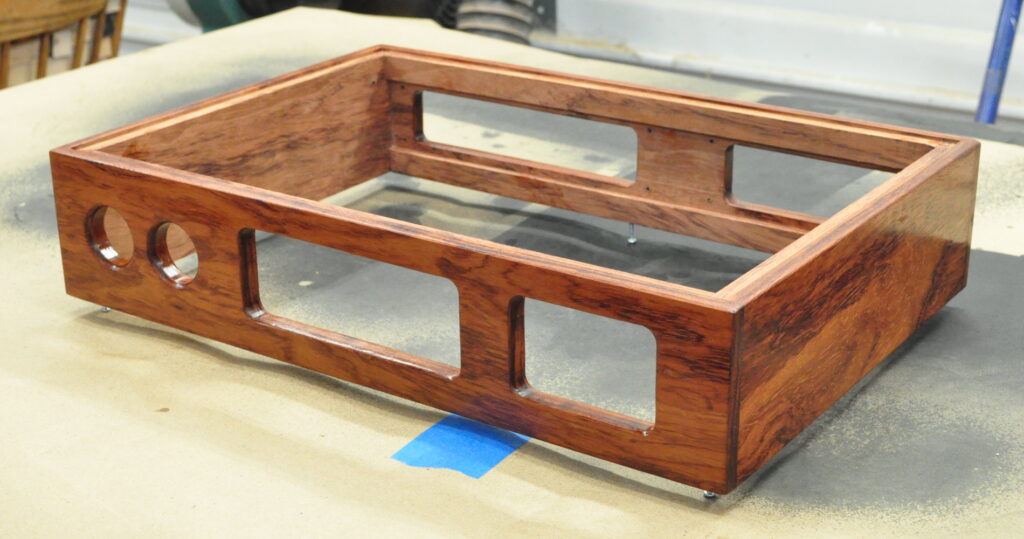
Today I got the shop cleaned up and applied the first coat of oil to the bubinga chassis for the Source Selector Unit. (Still looking for naming suggestions, by the way.) The oil really brings out the grain. I think it will look even better than I thought it would.
Here is the chassis.
As I build up multiple coats of the oil, the grain should get deeper in color and and even more vibrant. This is going to look very nice in my office.
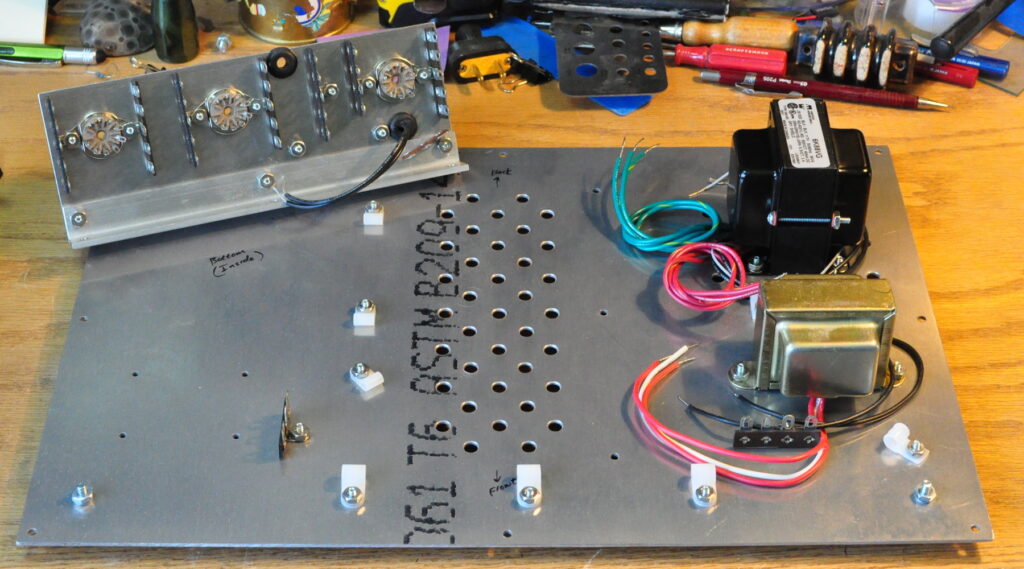
And because of my new finishing approach of not painting bottom plates, I accomplished some other work done as well. Here is the first of the mechanical assembly of the unit.
Because of the way the unit is assembled, I’m going to get as much of the wiring done as possible before securing the base plate to the chassis. I’ll start with some wiring directly on the bottom plate. Then I’ll wire up the tube circuits on the small plate on the left before attaching that to the bottom plate. I’ll also get as much of the chassis wiring done as possible. This includes the extensive wiring connected to the selector switch consisting of twelve runs of color coded twisted pairs. That may take a while, however, I am making progress.
I’m going to wait until the bottom plate is installed in the chassis before attaching the VU meter driver board. That’s the four small holes in the front left of the bottom plate. I don’t want to risk damaging the board while working on everything else. All the connections to that board are via push on connectors so it really shouldn’t be an issue.
As always, questions and comments are welcome.


