
The chassis has all its coats of oil finish and things started coming together today.
I have installed the front and back mounting plates and have started the fixed internal wiring. Here’s how the chassis looks from the front and back.
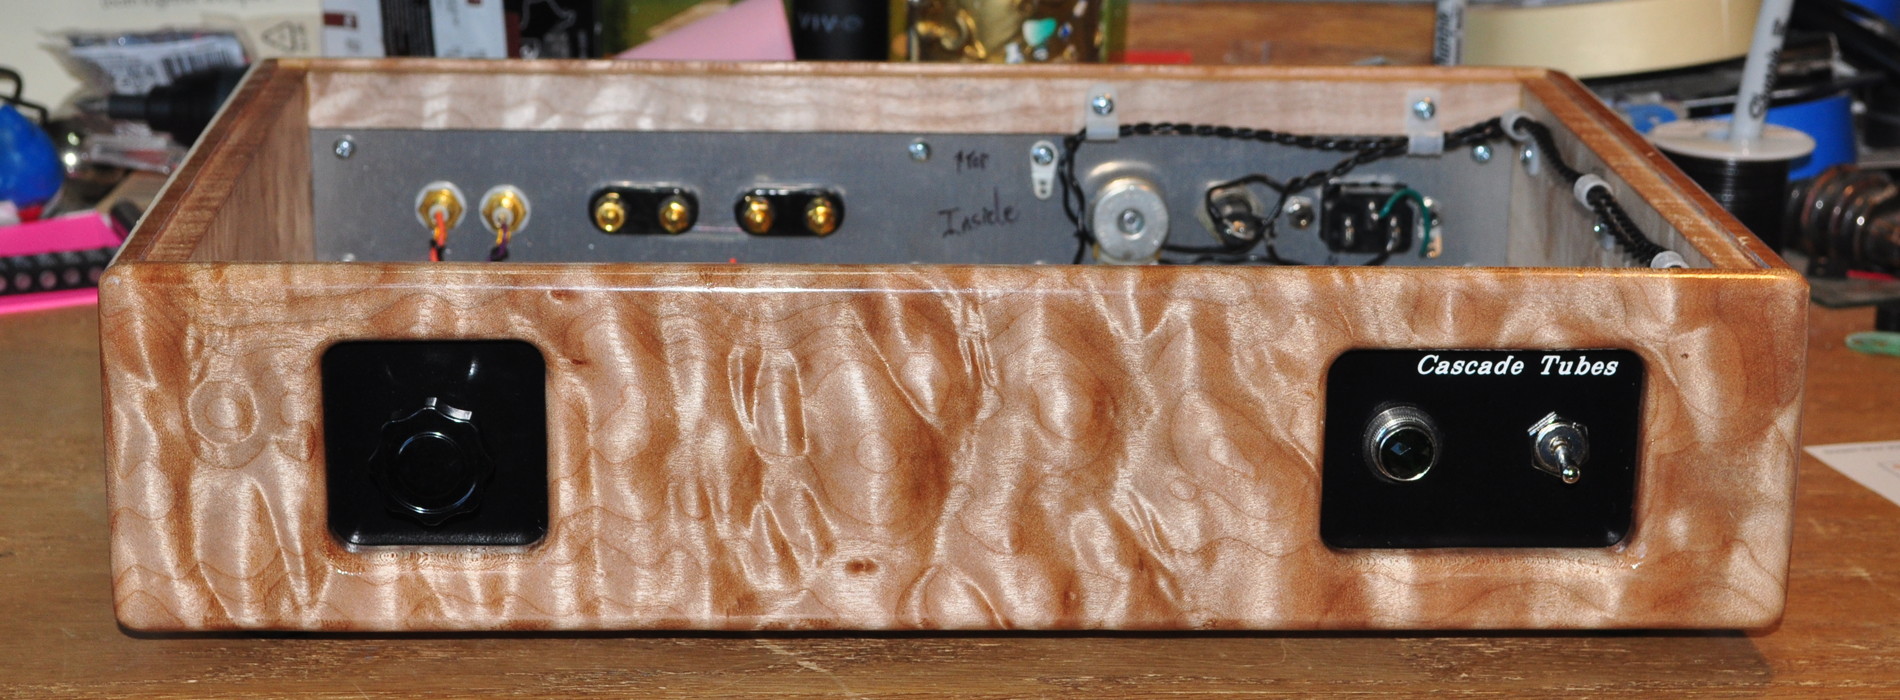
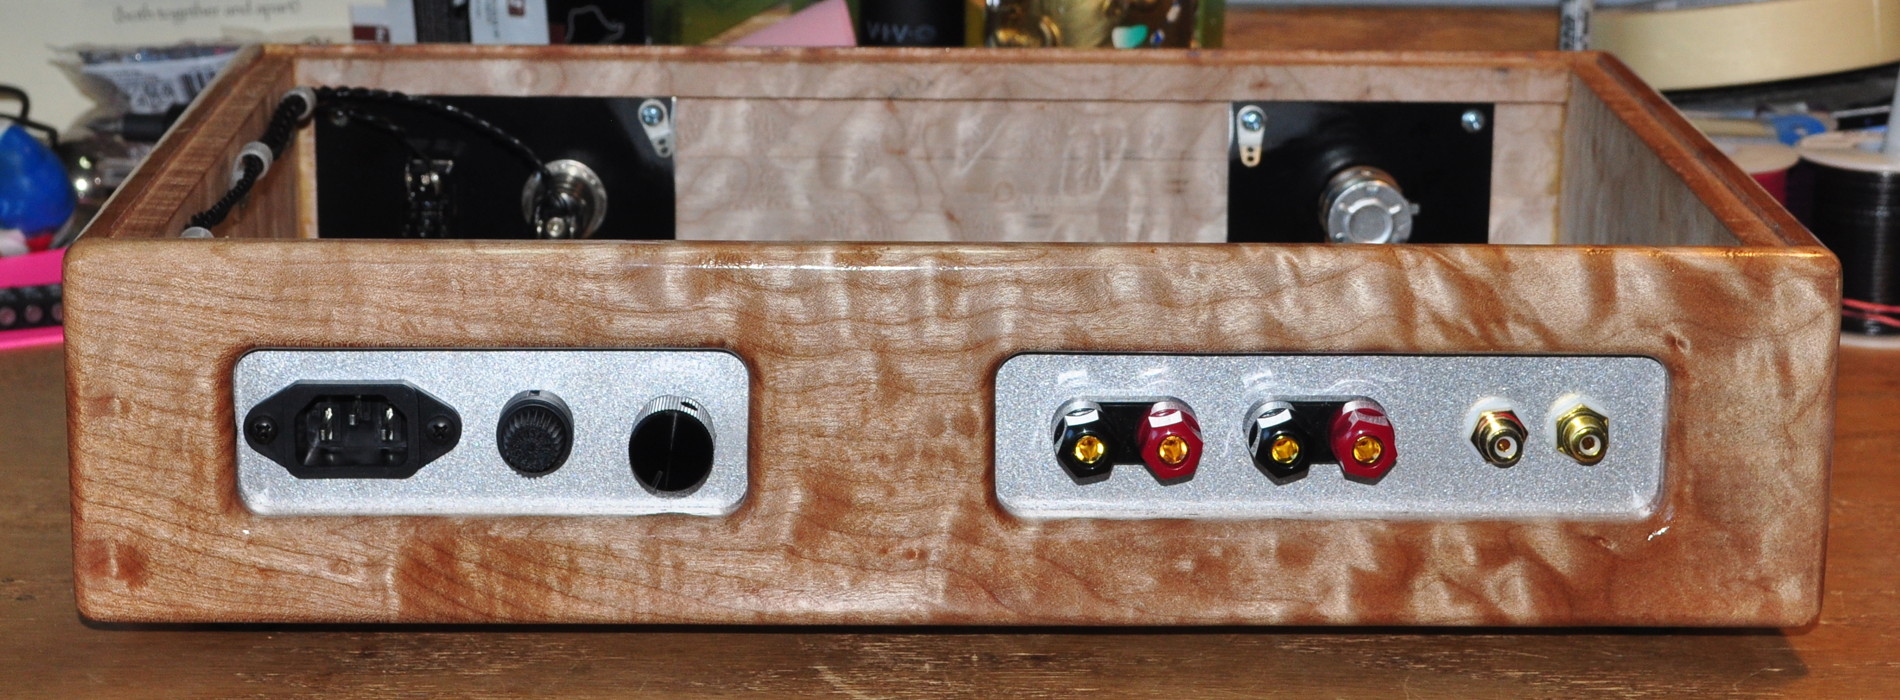
The wood turned out even better than I had hoped. With the front and back plates installed you really start to get an idea of how the finished amp will look.
I also managed to get the RCA inputs wired into the volume control, the wiring in place for the transformer primary circuit, and the panel lamp and its dimmer control wired together. These additions include short leads which will be tied into the top assemble when it’s installed on the chassis. Here is how the insides look.
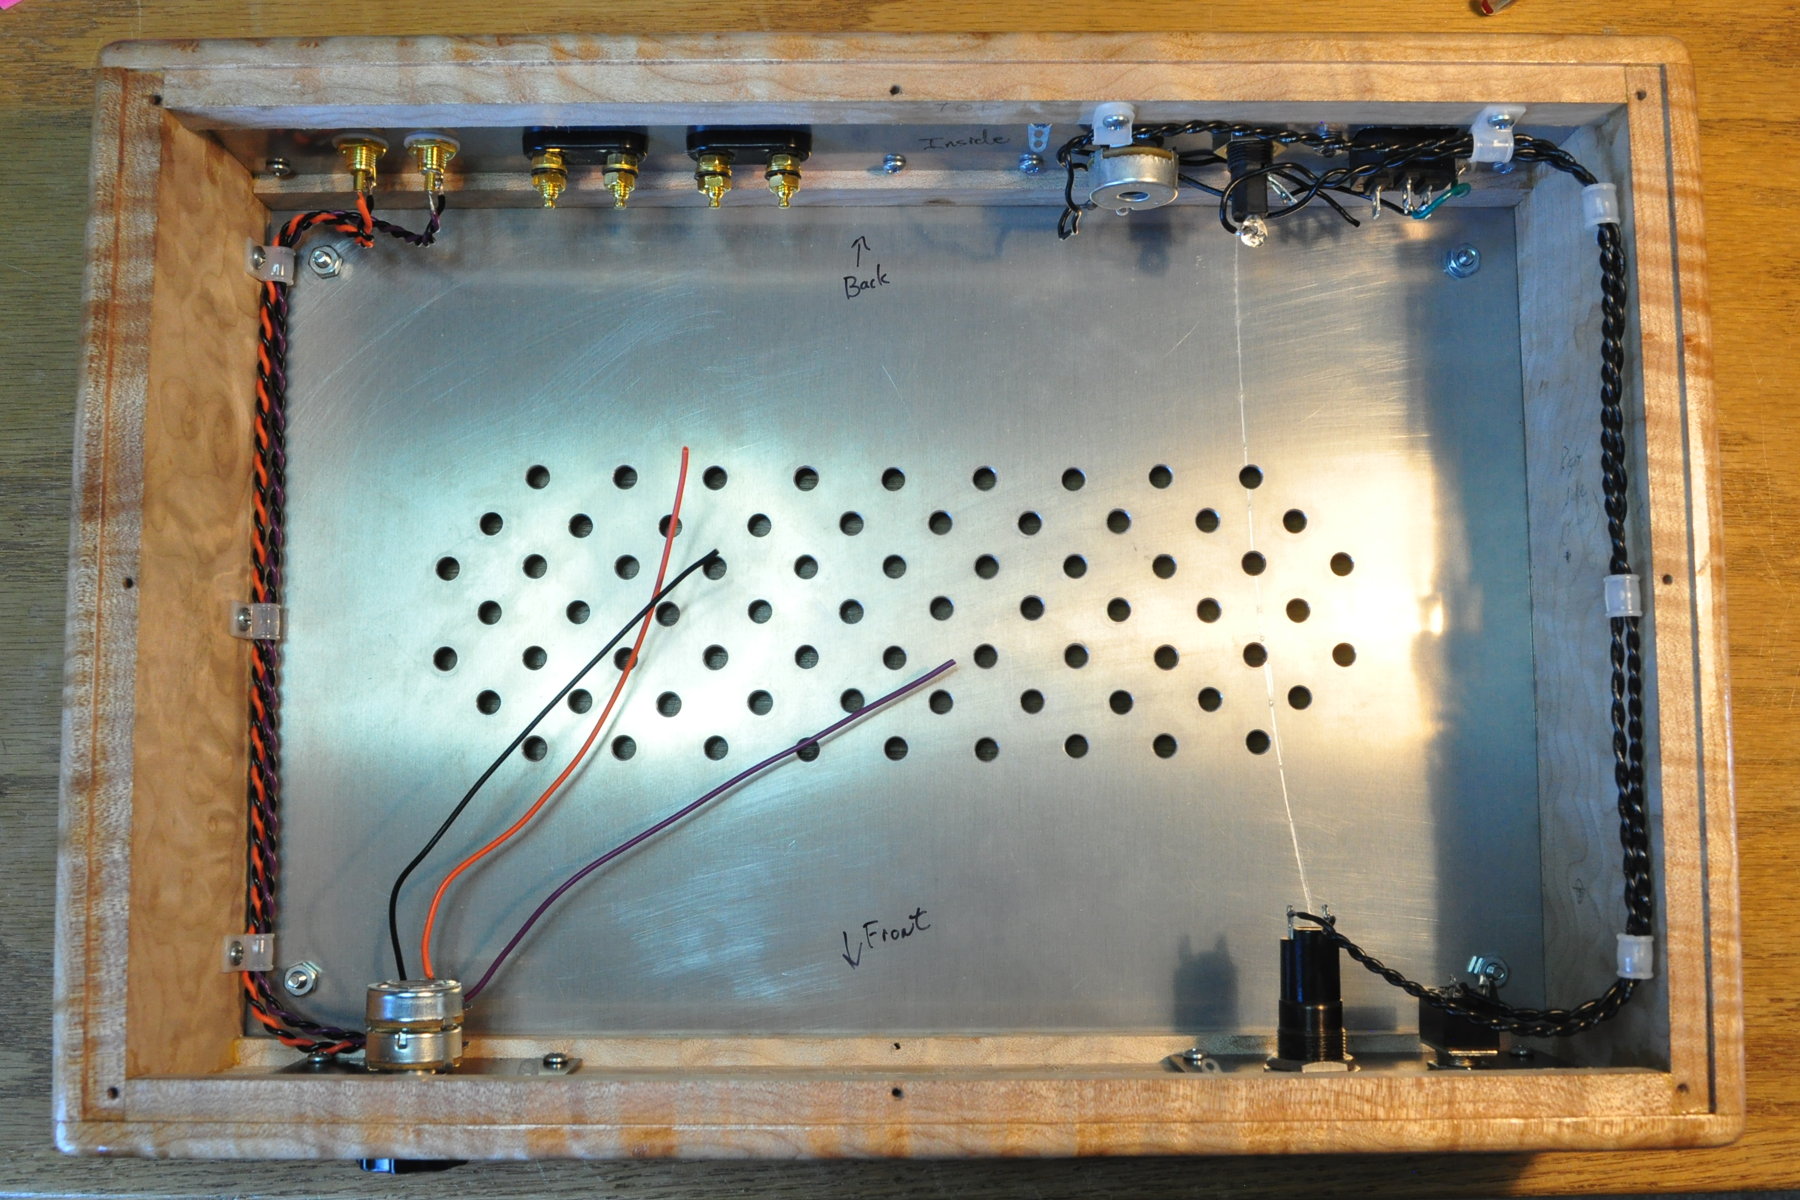
Obviously this is from the top looking down so when I get to final assembly, and the view is from the bottom, everything will be reversed right to left. Laying in this wiring now when I can access the insides of the chassis without either the bottom or top plate installed makes the final assembly a lot simpler. The chassis is just set on the bottom plate in this picture.
I should be able to get some more accomplished in the new several days. However, today I learned that the oil finish caused a small and subtle shift in the wood. This means the the top plate needs a little more fitting before I get to the final painting. This is not a problem, just another step in the process.
As always, questions and comments are welcome.
Looks Nice – Excited to see it coming together!