I would like to take a moment to talk a little about “brassboards”. Everyone in the DIY community knows about prototyping. This is the “tryout” phase where we wire things up to see if they’ll work before we start a build. Sometimes it’s just part of a circuit, sometimes the whole thing, but there is one thing that all these prototypes have in common. They are in no way representative of the final project. But what do we do if we need to take our “tryout” one step farther before we build our project? What if there is something different in our circuit we haven’t built before. What if something in this design doesn’t look “right”? What if the circuit looks ok but the physical wiring looks like it will be a challenge? This is where brassboards come into play.
A brassboard circuit is still a prototype; just built in a more robust fashion. In general, a brassboard is a near final design circuit, built in a configuration which is representative of the final project, using similar construction methods and materials as the final project. Some people think of this as prototyping on steroids but it is really much more. By building test circuits in a way that looks more like the finished project, what brassboards really provide is answers. Typically answers we can get from simple prototyping alone. What we really need to know is what does it look like and when is it required? Lets look at an example.
A New Driver
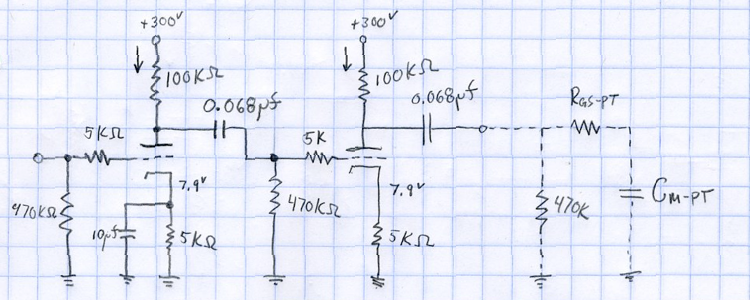
I was recently working on a design for a new SET amplifier design. Like most projects of this type, the power stage is very low sensitivity and thus requires a very large driver voltage to reach full power. In this case over ±80v peak. After looking at various options, I decided that what I really needed was a low distortion cascaded driver circuit. This is the circuit I designed.
The circuit uses both elements of a 12AU7 in a high bias configuration to provide high overall gain, low distortion, and good transient response. This design looked really good on paper and seemed to meet all my design requirements. So I did what most designers would do in this situation, I wired up a prototype.
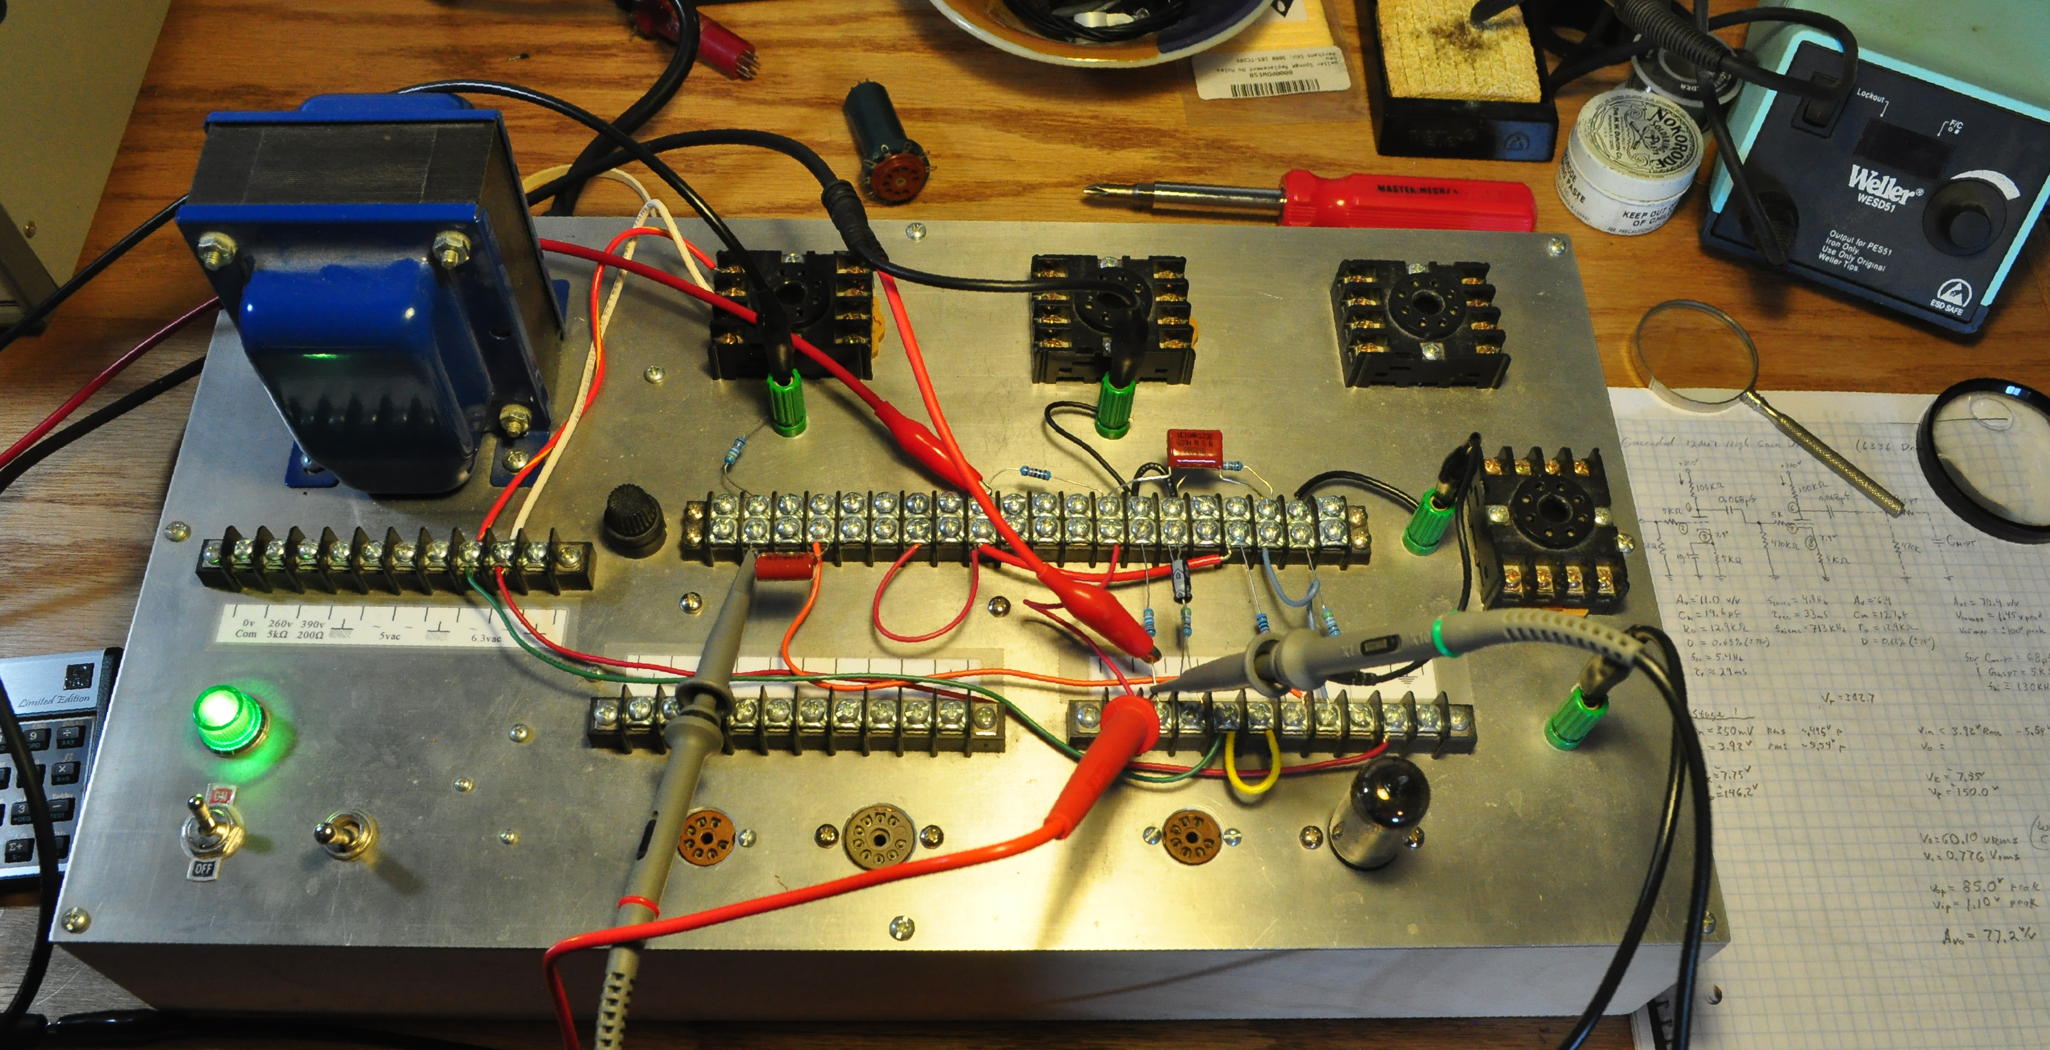 I learned some good things from my prototype. The distortion looked very good, transient response was just as designed, and the gain was just about what I expected. I learned that the low end frequency response rolled off just as designed, but there were some problems at high frequency. I had designed the circuit for a high end roll off up around 100kHz. But what I was measuring on my prototype was down around 25kHz and it did not seem very consistent (i.e. repeatable). Now I know from experience using this type of prototype setup that stray capacitance can wreak havoc on the measured high frequency performance. But I was unwilling to go to the final build without a better indication of how this driver would perform. So I decided to build a brassboard.
The Brassboard Design and Build
My brassboard design needed to be as much like a final build as I could make it as a standalone project. This was necessary because I wanted the stray capacitance to be representative a of a real build. This way the high frequency performance, while not being the same as the final amp, would be representative of the final amp and should give a solid indication as to whether this driver would function in an acceptable manner.
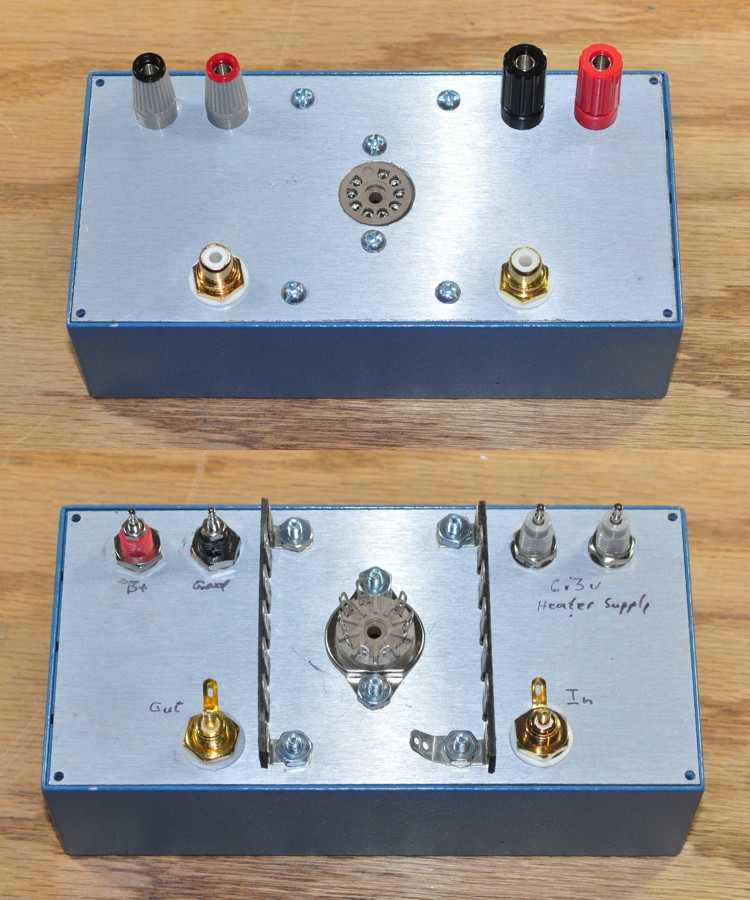
So I decided to house a full driver stage in a metal enclosure and build it just like I would the final amp. Power would be provided from bench supplies and the input and output would be RCA jacks I could connect to test equipment. I started by pulling a small enclosure out of my parts stash (a 3” x 6” x 1.7” Pomona 4903 die cast aluminum box) and went to work doing the layout. It took me about an hour and a half to choose parts, layout the top, drill holes, and mount the components. This is how my brassboard looked prior to me starting to wire it up.
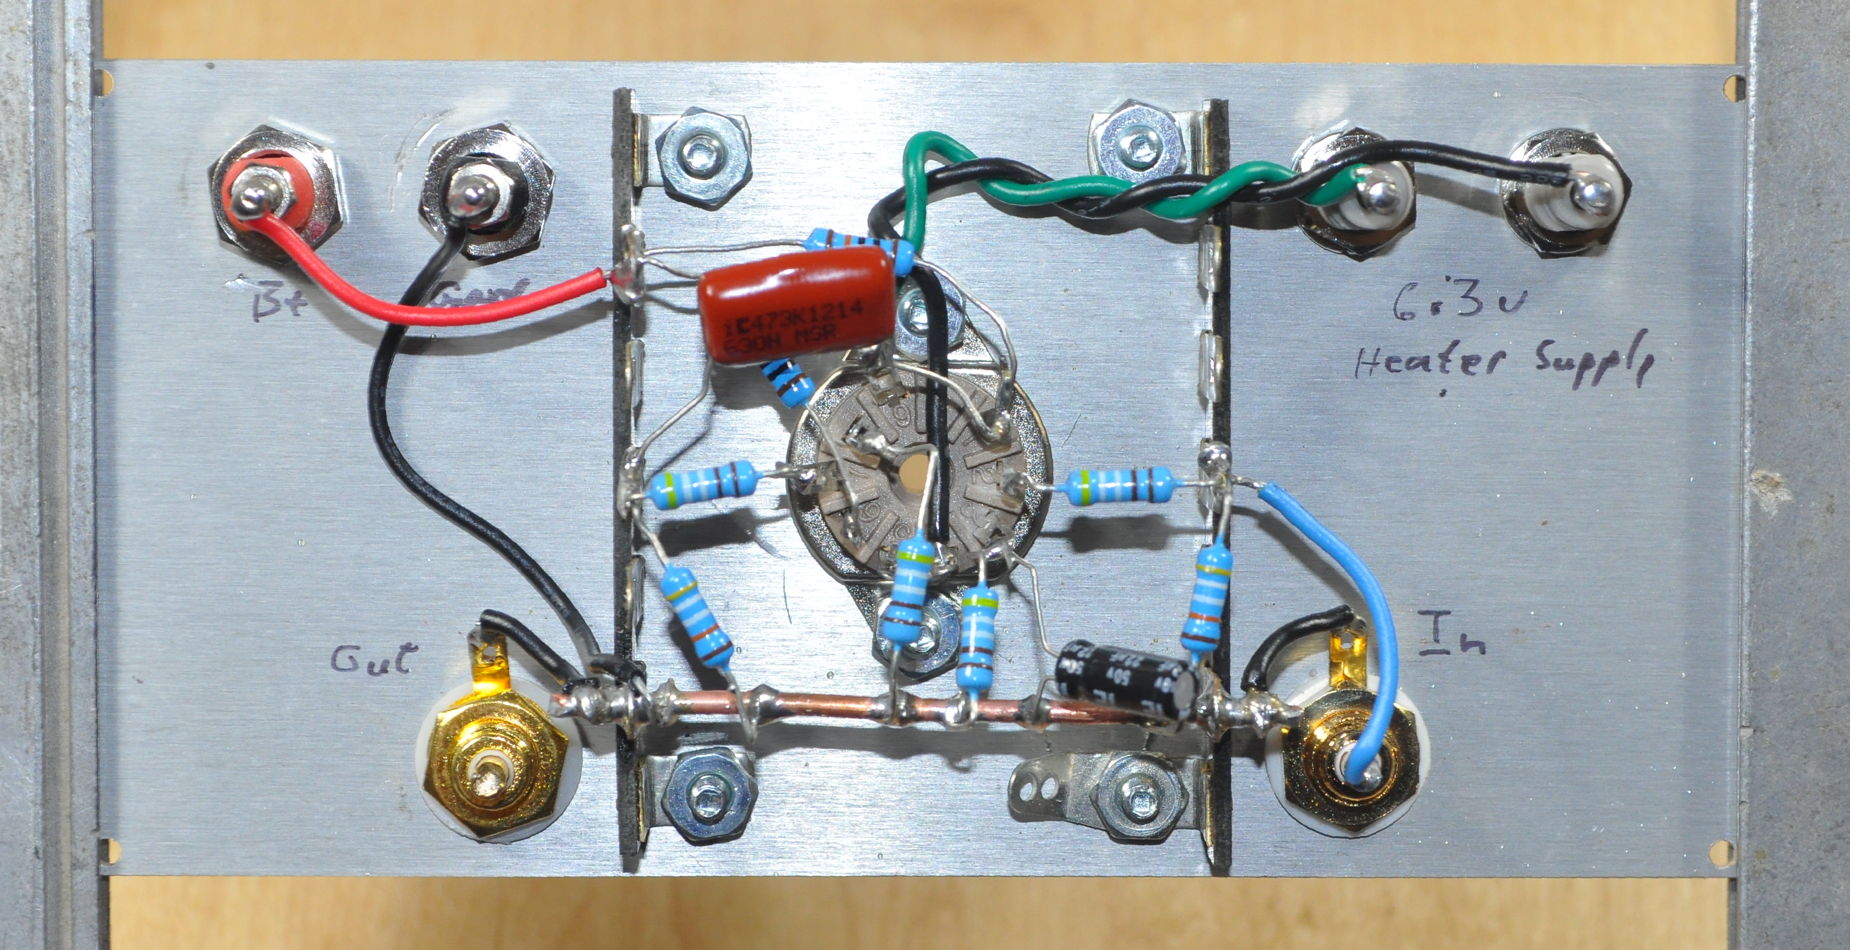
Wiring will be point to point and this configuration should give me the same type of high frequency performance as I would see in the finished amp. In this arrangement, the power is supplied along the top with the 6.3v heater on the left and the 300v B+ on the right. The signal connections are along the bottom with the input on the left and the output on the right. All of these are, of course, reversed left to right when looking at the bottom. This is a picture of the underside midway through the assembly process.
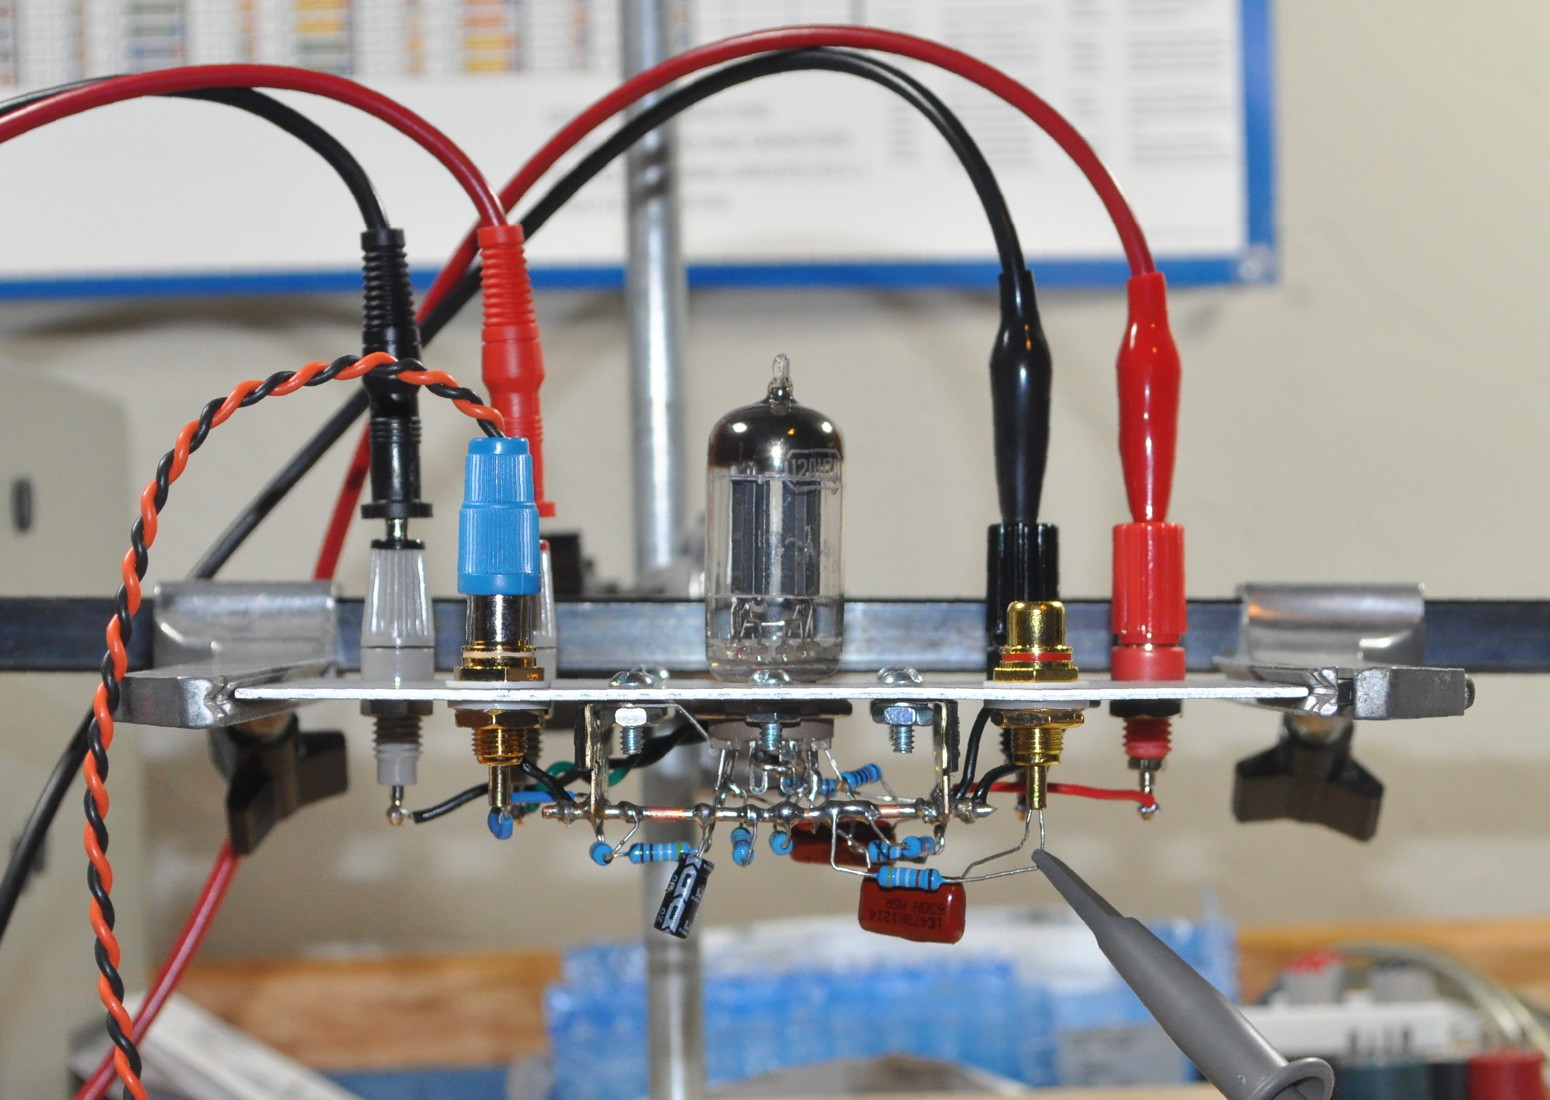
This picture helps to illustrate why the brassboard is so valuable in this situation. The close spacing and complex layout required by point to point wiring like this would be impossible to recreate on the prototype board shown earlier. This layout, especially between the terminal strips, is highly representative of what one would find in the final amplifier. As such, it should provide a good indication of the real world performance of this design in a typical application. Before sealing the case, I mounted the top plate with the circuit in a holding fixture to make sure I had wired everything correctly.
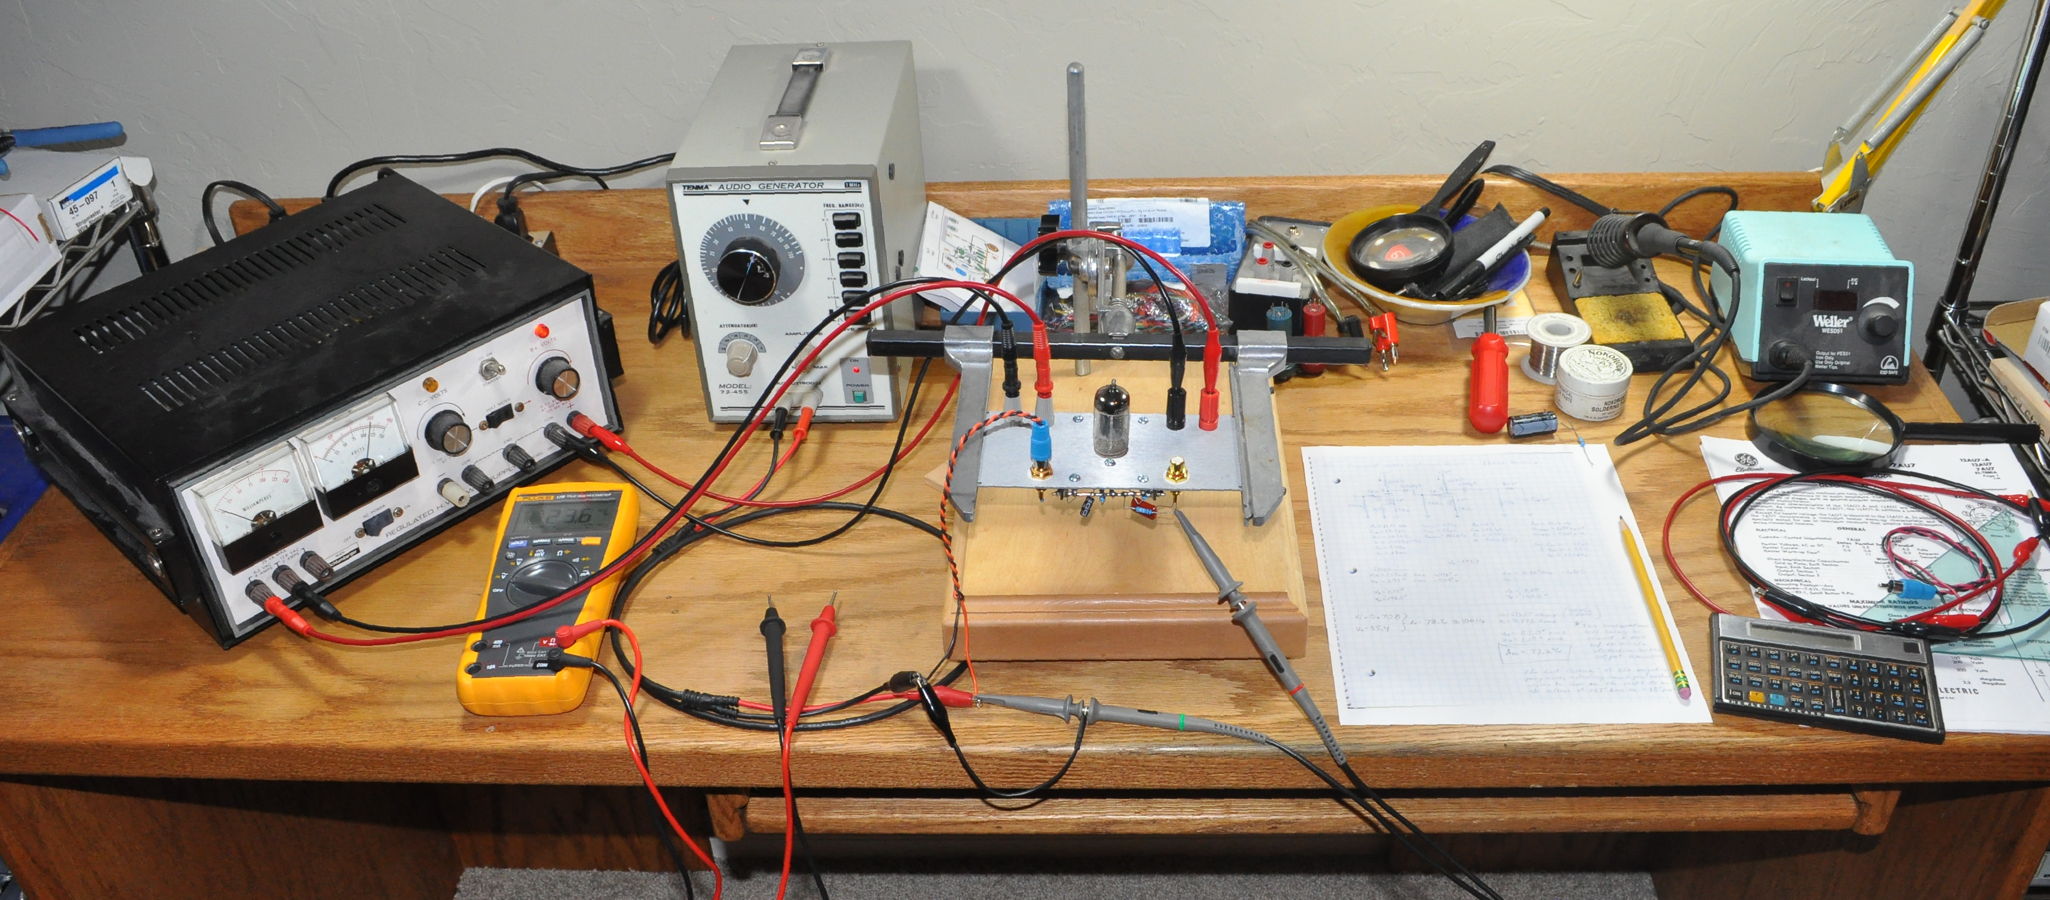
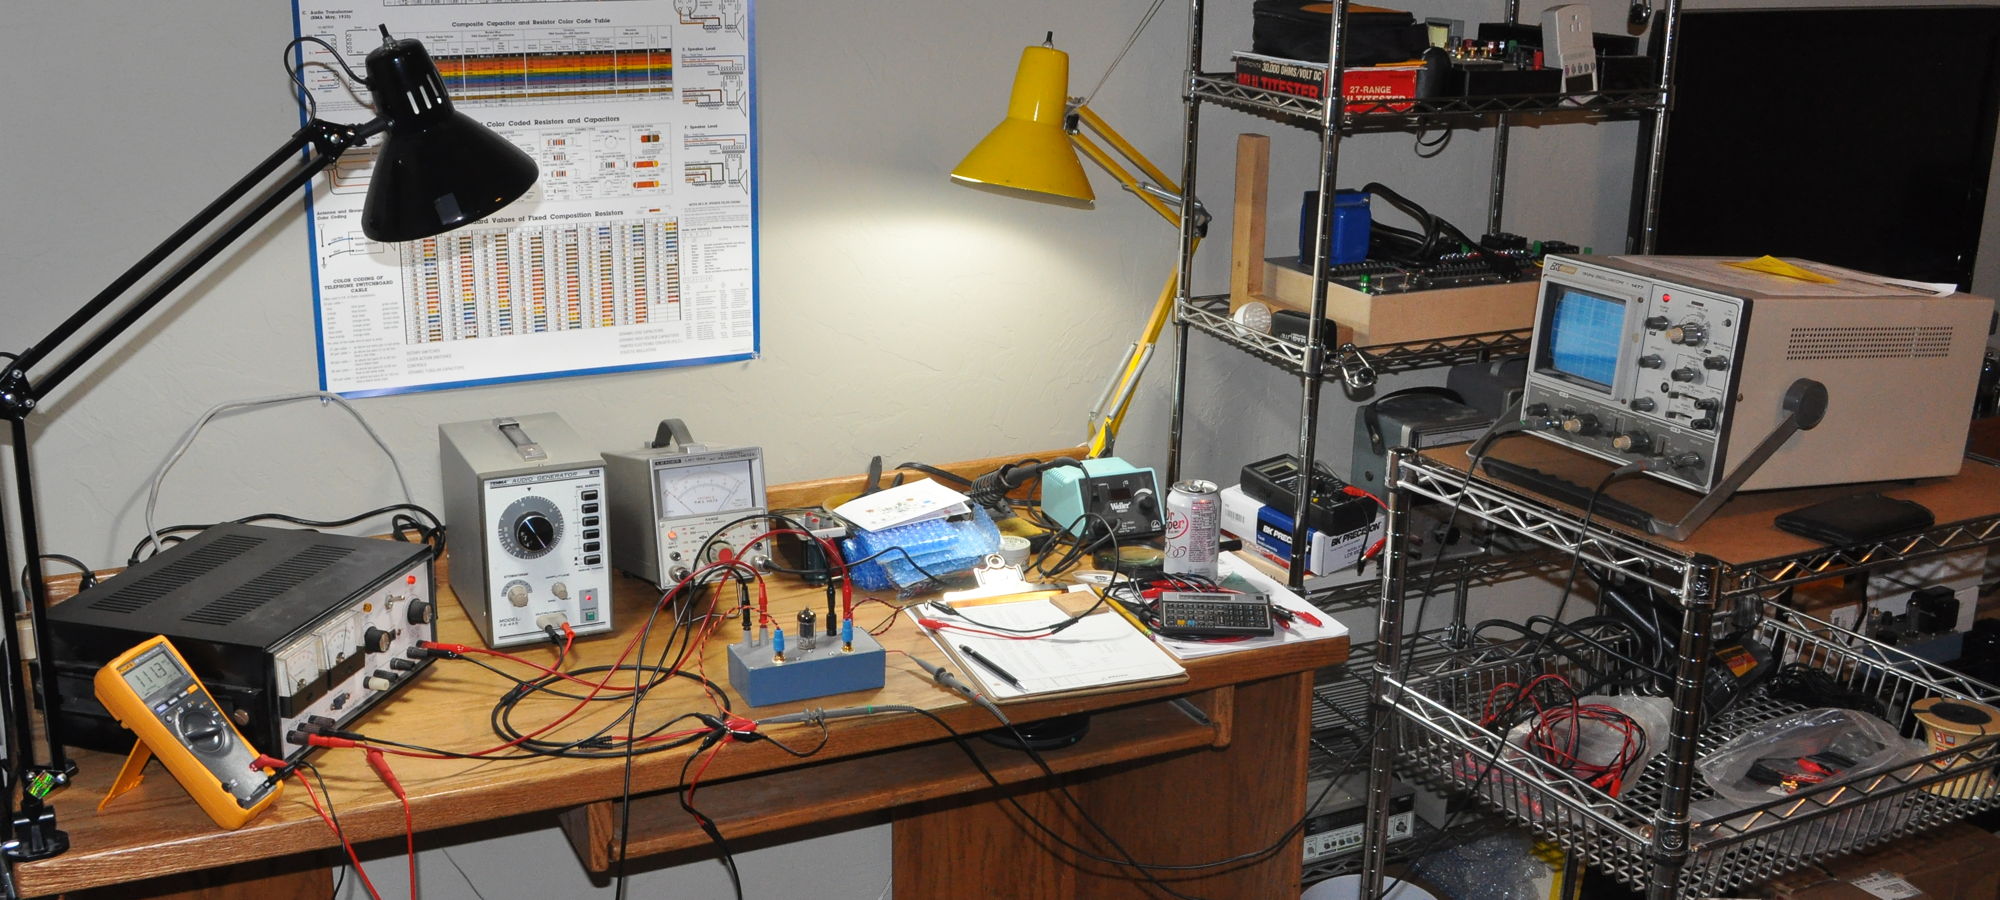
This was just a preliminary test to guarantee basic functionality. Once I was sure everything looked all right, it was time to actually find out how the circuit worked. Overall it took me about 5 hours to get to this point. Next came the actual testing for which I built this unit. Here is the final brassboard driver under test on my workbench. This is where my questions were answered.
Test Results
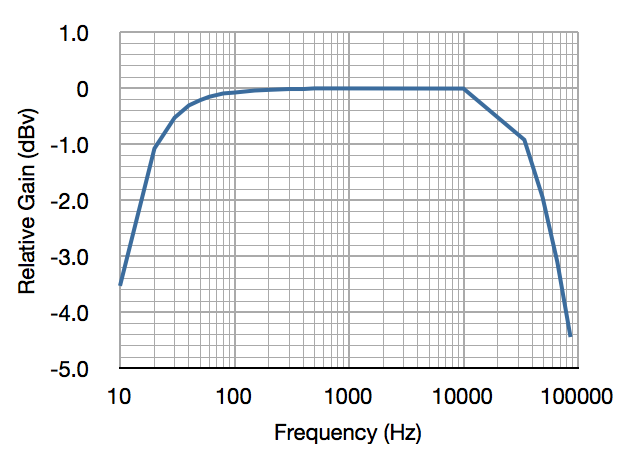
So what were the results? The distortion, gain, transient response, and low frequency performance were all as expected. However, best of all the high frequency roll off was very close to the design point. The -3dB point was at about 66KHz. A very reasonable number considering the circuit design and brassboard construction. Here is the relative gain verses frequency response curve as measured at the bench.
Summary and Conclusion
So here in a nutshell is an example of what can be gained and learned from taking the brassboard approach. Building the brassboard unit did not replace the normal prototyping activity, it enhanced it. And I learned things from the brassboard which were really impossible to see in the initial prototype. Now I can move forward with the amp project much more confident with the overall design and with expectations of good final results.
Overall I dedicated about eight solid hours of work into getting this brassboard built and tested. I think it was worth the effort. I don’t know what will become of this unit. It is a good driver, so I may treat it like a piece of test equipment to supplement future testing. I may cannibalize it at some point in the future for another test or project. Regardless of what happens in the future, this was effort well spent.
If at some point you’re working on a project and something just doesn’t seem right, I highly encourage taking your prototype to “the next level” and building a brassboard. You’ll be surprised how much you learn about your design. In addition. your final project build will probably go much more smoothly; and yield better results.
Drop me a note and let me know what you think about brassboards.

Hello Matt:
I think your concept of the Brass board is a very useful one. I am going to use it to experiment with and to polish my layout skills and learn different driver topologies. I see a lot of folks simulating designs but few go to the effort to build them out and test them in real layout type scenarios.
I am a big fan of hands on learning and this is a very effective way to learn without the intimidation of making a fancy case, only to be disappointed with the outcome or not have enough room to fit everything in properly.
Thanks for sharing
Where did you get the tube sockets with the connections on the side for the proto
type board?
Thanks
These are actually 8-pin DIN rail sockets commonly used for industrial relays.Here is an example “Octal DIN Rail Socket” You can generally find them by doing an internet search for “Octal DIN Socket”. You can also find them on eBay but I have found much better prices elsewhere.